Mustek PP7000 User Manual
Browse online or download User Manual for Cash registers Mustek PP7000. Mustek PP7000 User's Manual
- Page / 31
- Table of contents
- BOOKMARKS
- Aura Series 1
- (PP7000 / PP7000-II) 1
- Thermal Printer 1
- IMPORTANT!!!! 1
- Table Of Contents 3
- SPECIFICATIONS 4
- TECHNICAL INFORMATION 4
- I. GETTING STARTED 5
- UNPACKING 6
- INDICATORS 8
- OPERATING ENVIRONMENT 9
- USEFUL TIPS 10
- II. QUICK START-UP 11
- CONNECTING CABLES 12
- Power on 13
- Peripheral connection 13
- Power connection 13
- Self test 14
- SPECIAL ADJUSTMENTS 15
- Spacer plate 16
- Paper cutting 16
- Wall mount application 16
- III. MAINTENANCE GUIDES 17
- TROUBLE SHOOTING 18
- Paper Jam Problems 20
- Auto Cutter Problems 20
- Advanced Analysis Tool 21
- IV. SPECIFICATIONS 23
- POWER ADAPTOR 24
- V. TECHNICAL INFORMATION 25
- SETUP WINDOW 26
- INTERNAL SWITCH 28
- SOFTWARE COMMANDS 29
- CHARACTER CODE PAGES 31
Summary of Contents
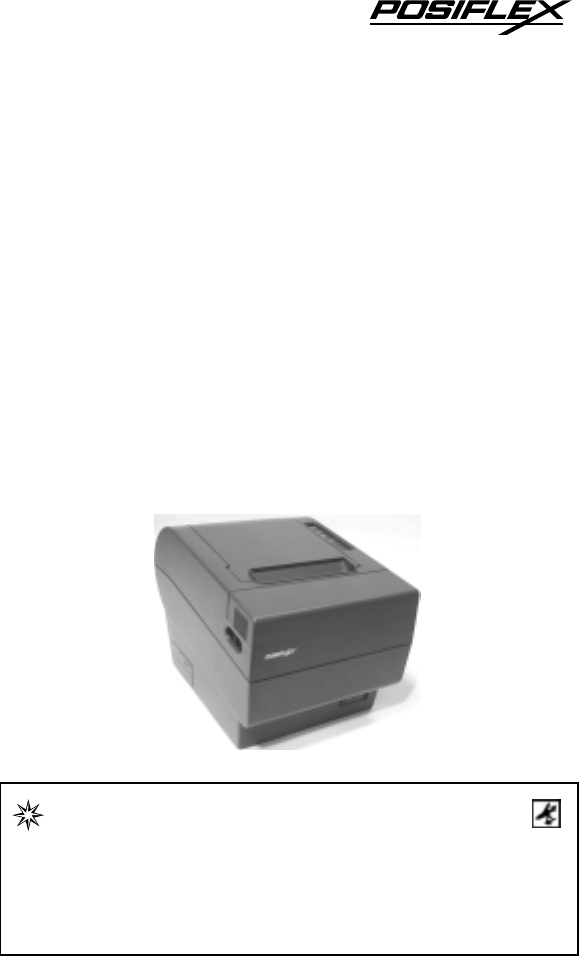
Aura Series (PP7000 / PP7000-II) Thermal Printer User's Guide Rev.: A1 IMPORTANT!!!! Please read carefully before usin
H. USEFUL TIPS • Do not touch the areas around the print head and mot
II. QUICK START-UP A. LOADING PAPER 1. Desk top application 1. Slide the hood lock toward the front of the printer to release the hood. 2. R
2. When to replace paper Whenever the printer gives paper out signal or a red line appears on the thermal paper, it is the proper timing for replacin
window the switch positions both 1, and 2 to ON leaving the rest unchanged as factory default setting. 3. Peripheral connection The peripheral contro
sure that the type of power cord and the voltage requirement of the power adaptor meet the local power conditions. Now the printer is ready for power
moment, a font table will be printed in text mode again. To exit the test printing, please turn the printer off and on again. C. SPECIAL ADJUSTMENTS
extremely light bobbin, easily causing the paper roll to go off position when paper feeding with low remaining paper. In this case, the paper near en
III. MAINTENANCE GUIDES A. MAINTENANCE GUIDE LINES • Always turn off and disconnect power before opening the cover. • The areas around the print he
Before putting back the paper roll for printing, alcohol solvent must be dried completely. D. TROUBLE SHOOTING This section gives solutions to some p
If there is no paper jam and the print head is not overheated, turn off the printer and wait for half a minute then turn it back on. If the problem s
Federal Communications Commission Radio Frequency Interference Statement This equipment has been tested and found to comply with the limits for a Cla
speed by adjusting an internal switch describe in last chapter of the manual. 3. Paper Jam Problems Paper is jammed inside the printer – Turn off the
it back to position when finish. The lock up of the print hood can then be released after this problem solved. Please use manual cutter as temporary
IV. SPECIFICATIONS A. PRINTER ITEM SPECIFICATION Printing method Thermal sensitive line dot method Effective printing width 64 mm Thermal head con
C. POWER ADAPTOR ITEM REQUIREMENT INPUT VOLTAGE 100 V AC ~ 250 V AC INPUT FREQUENCY 50 ~ 60 HZ INPUT CURRENT 1.5 A MAX. @ 115 V AC OUTPUT VOLTAGE
V. TECHNICAL INFORMATION A. INTERFACES 1. Peripheral interface The connector for peripheral control is a 6P6C RJ11 jack with the following pin assign
B. SETUP WINDOW On bottom cover of the Aura series thermal printer, there is screwed a metal plate for setup window. In this window, there is a 8 pos
Switch position 4 defines the handshaking method in serial interface. When it is set to ON, the printer transmits an “XOFF” for busy and sends an “XO
C. INTERNAL SWITCH There is an extra internal 4 position DIP switch in PP7000-II for more technical settings. To access these setup, please first tur
D. SOFTWARE COMMANDS The Aura thermal printer supports all commands applicable to Epson printer TM-T88II. The only difference is the smoothening comm
Table Of Contents GETTING STARTED . . . . . . . . . . . . . . . . . . . . . 1 -- 1 CONGRATULATION . . . . . . . . . . . . . . . . . . . . . . 1 --
ESC ‘p’ m n1 n2: Kitchen bell drive command (m = ‘0’, 0 ≦ n1 ≦ n2 ≦ 255) Hexadecimal codes are: 1B 70 m n1 n2 This command can be used to drive a kit
E. CHARACTER CODE PAGES Aura series printer supports all code pages and international character sets applicable to Epson printer TM-T88. They are: Pa
PRINT HEAD CLEANING . . . . . . . . . . . . . . . . . 3 -- 1 TROUBLE SHOOTING . . . . . . . . . . . . . . . . . . . . 3 -- 2 General problems .
I. GETTING STARTED A. CONGRATULATION You have made a very wise decision by purchasing the easy loading ; low noise ; high resolution ; light weight
reminder function to persons around. It can be used to drive a separately purchased kitchen bell for such reminder function in noisy environment. Thi
a Power adaptor + power cord (depend on country type ordered). b Power supply cable (when no power adaptor ordered) w0.0009 l30.0823 19 10.98 0 0 1
Front View Rear View Parallel Connector Power Switch Serial Connector Power Connector Peripheral Connector Frame Ground Botto
G. OPERATING ENVIRONMENT • Place the printer on a sturdy, level surface. • Choose a place that is well ventilated and free of excessive dust, smoke
© 2020, manymanuals.com. All rights reserved. | 0.891 s |
 Manymanuals.com
 Manymanuals.de
 Manymanuals.fr
 Manymanuals.it
 Manymanuals.pl
 Manymanuals.cz
 Manymanuals.es
 Manymanuals-pt.com
Comments to this Manuals